
6 Steps to Make Yearly Kid’s Photo Books
Time flies when you have kids. Those creators of tear-jerking memorabilia aren’t little for long, so the instinct is to preserve everything possible. But keeping absolutely everything from finger paintings to mud-pies isn’t practical, and consigning all their wonderfully innocent (and often hysterical) questions and statements to memory is a challenge even for the Einsteins among us. However, there is a way to preserve those precious childhood years, and it’s perfectly within your reach.
A yearly photo book, or even a baby keepsake book, is the perfect solution—and it’s not as time-consuming or difficult to produce as time-pressed parents might think. Read on to discover achievable steps to success.
Step 1:
Create a “year” folder on your computer to file your photographs and add additional folders inside, one for each month. This will help keep things in order and make flowing content into your book easy later on. You can also add a text file in each month’s folder that you can use to jot down any quotes or stories.
Step 2:
Be camera-ready! Keep your camera in the same spot in the house—ready to grab—for when you want to document the latest masterpiece, fancy dress outfit, or daring antic that comes your way.
Tip: If they say something you don’t want to forget, and you’re not near your computer, text or email it to yourself quickly, so it’s ready to add to the file later.
Step 3:
Decide on one day each month that you can spend 15 minutes to half an hour adding the new content to your folder. Select three to four of the best photographs you’ve taken, download them to the designated folder for that month, and update the text file with any of the notes you’ve made.
Tip: Save each image using the date it was taken and the “event title” as the file name.
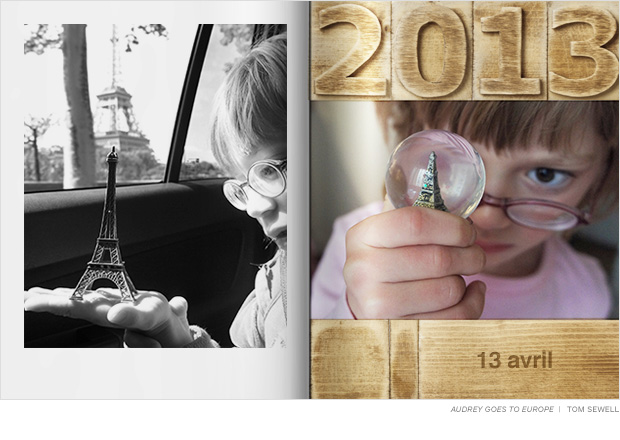
Once you have 12 months of memories, you’re ready to create your book. You may want to pick your favorite overall photograph to use for the cover, but if you’re looking for some other ideas, consider these:
Use a selection of your child’s toys to create the date.
Have some fun together and get your kid involved in creating the cover. Handprints and footprints always make lovely images and are a nice way to track their growth over time. Or, if you have a more advanced artist on your hands, draw an outline of the title and have them color it in.
Step 4:
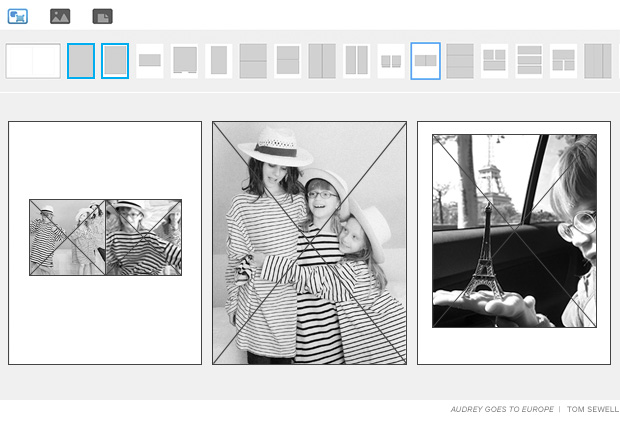
When it’s time to make your book, BookWright includes professionally designed templates, so all you have to do is select the ones that appeal to you (two- to three-page layout templates per book add some variety but maintain some visual continuity throughout).
Tip: For this kind of book our favorite choices would be:
Step 5:
Once you’ve chosen your templates, select the folder from your computer, and upload and flow in your photographs month by month. Refer to your text document and add in the supporting quotes and stories you’ve made along the way.
Step 6:
Review your book, checking each page for spelling mistakes, and make sure all the images are properly positioned. Once you’re happy with it, you can order—just be sure to consider all those who will want a copy. These kinds of books are perfect holiday and birthday presents for grandparents, aunts and uncles, godparents, and friends.
This post doesn't have any comment. Be the first one!