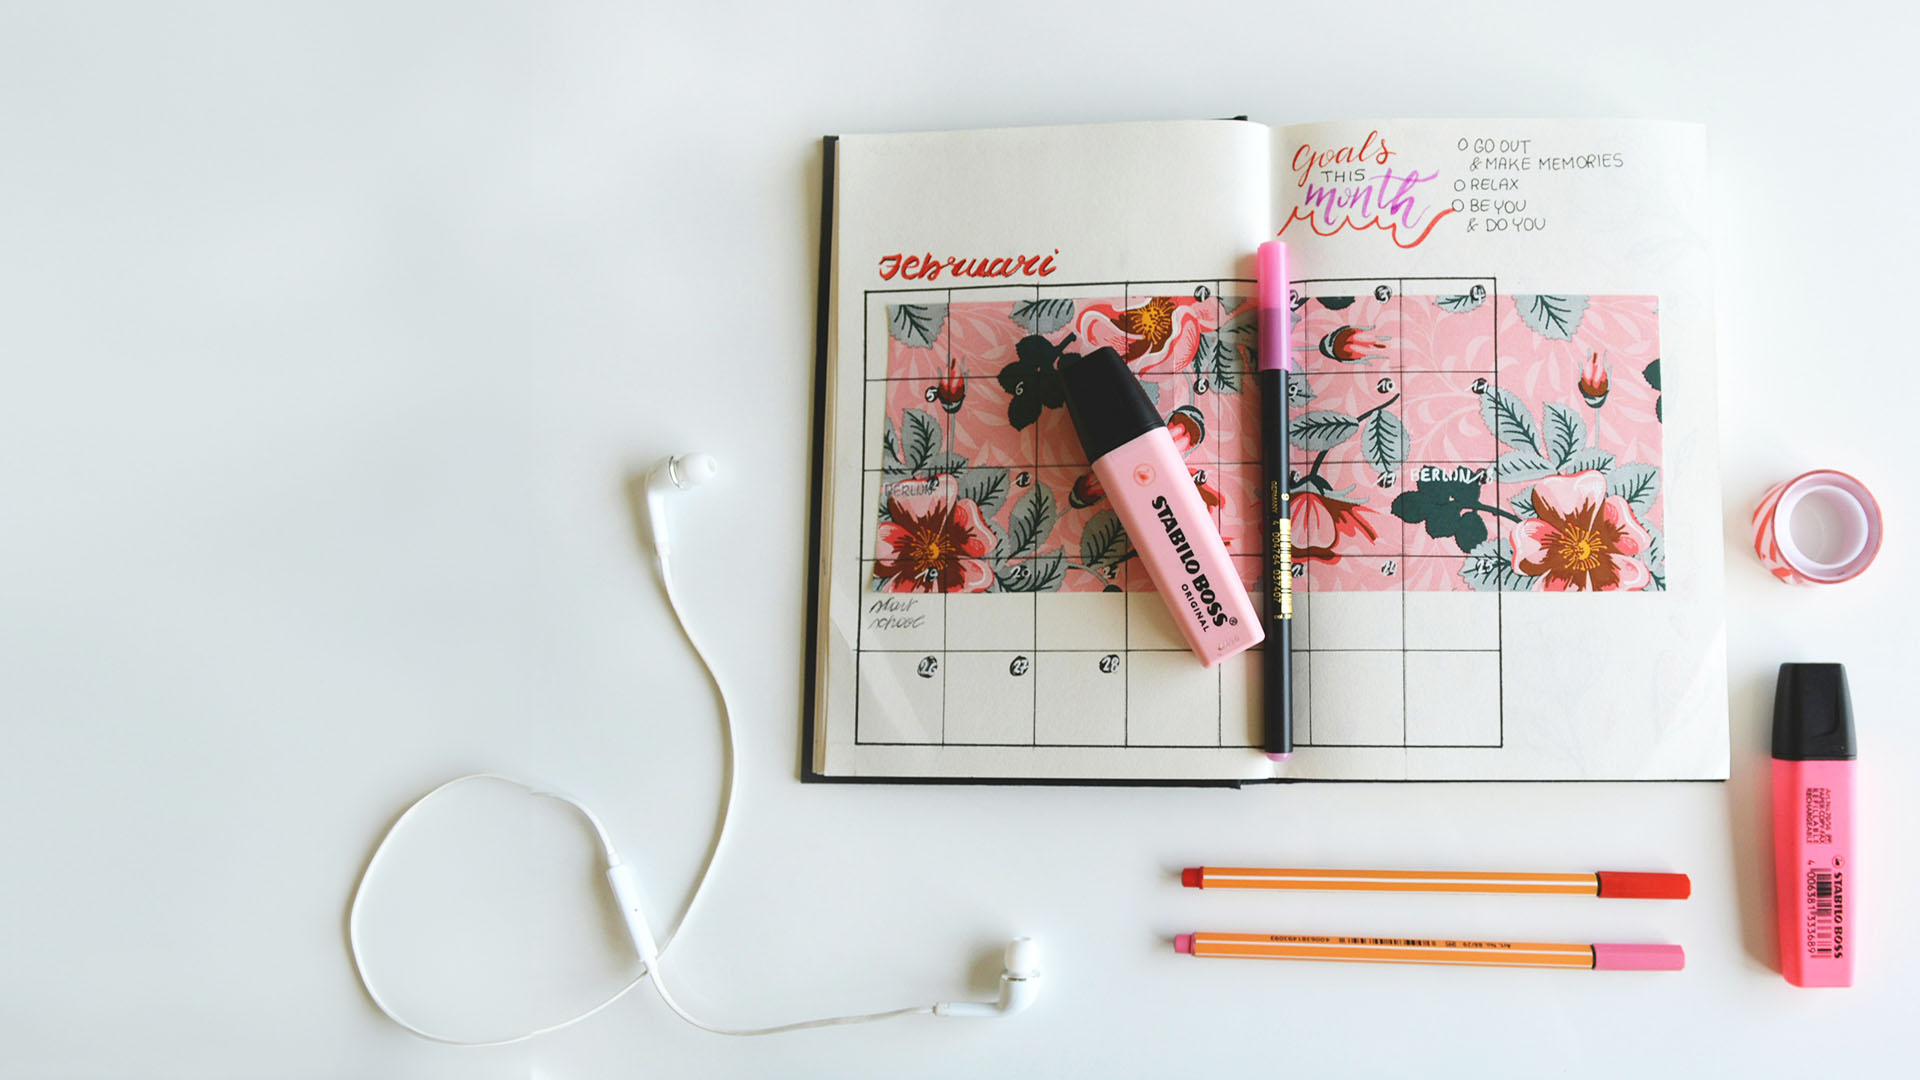
How to start a bullet journal: a guide for creative minds
As we approach a new year, you’re probably brimming with a plethora of new ideas, aspirations, and goals. Instead of using pre-printed planners and notebooks, starting a bullet journal is a creative exercise to plan your ideas, prioritize your projects, and track your progress.
Bullet journaling is a versatile practice that melds creativity with productivity, offering a customizable space to record, reflect, and organize our thoughts. It’s a blank canvas for your creative personality and an easy way to keep yourself accountable and on the right track.
A bullet journal provides limitless utility, from organizing your thoughts and decluttering your mind to planning your to-do’s and setting your intentions. Here, we explore the essentials of this handy tool and how to start a bullet journal for your own pursuits.
What is a bullet journal?
As the name implies, a bullet journal is a medium for personal organization that uses bullet points and symbols to log information in a single notebook. It provides a framework to become more organized and productive while also serving as a creative outlet.
Originally developed by designer Ryder Carroll and first shared with the world in 2013, the name “bullet journal” comes from using abbreviated bullet points. But it also derives from using dot journals and gridded pages using dots rather than typical notebook lines.
A bullet journal is simple and task-focused. All you need to get started is a blank notebook and a pen. You can use it to organize reminders, plan to-do lists, and brainstorm ideas. It can also serve as a mindfulness tool for meditation as well as an artistic conduit to channel your creative flair.
Inherent to bullet journaling is flexibility—offering plenty of room to customize your journal with daily, weekly, monthly, or future collections. If the format you use one week doesn’t land, try a different spread for next week. Simple in structure, bullet journaling provides you with the framework, and you fill in the rest.
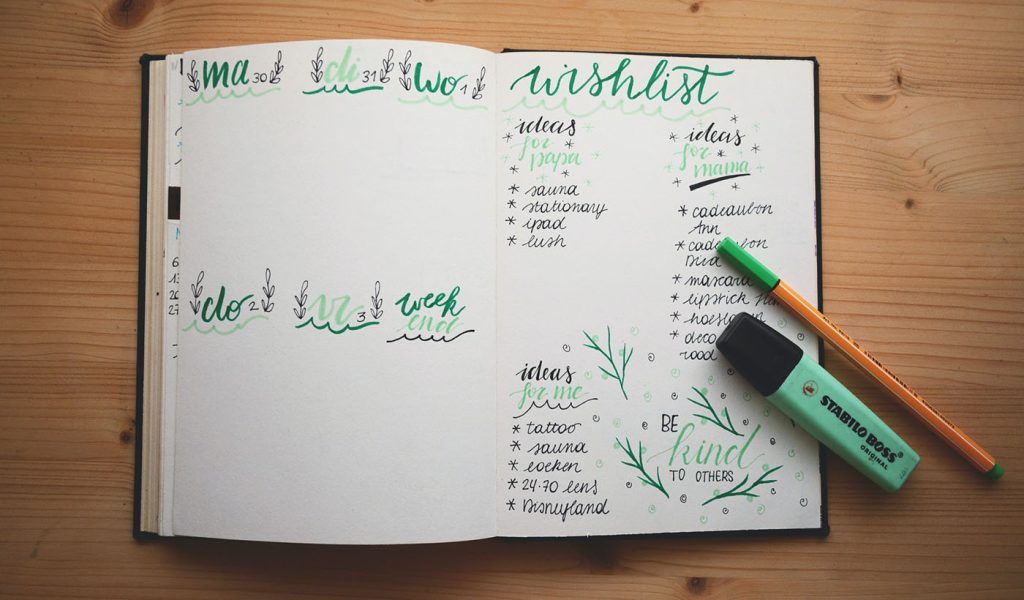
How to make a bullet journal: a starter’s guide
Starting a bullet journal is an exciting venture, allowing you to exercise your left and right brain in a uniquely personalized way. Follow these steps to create a bullet journal that aligns with your intentions, preferences, and style.
1. Choose your journal
The first step in creating your bullet journal is selecting the perfect notebook. This is a personal choice that should resonate with your intended use. First, consider the size: Do you want something small and portable or a larger canvas? Also, pay attention to paper quality, especially if you plan to use pens or markers that may bleed through.
The type of pages is also a critical factor. Consider what style best suits your planned activities. Dotted pages offer a subtle guide for writing and drawing; lined pages might suit those who prioritize writing, while blank pages provide the freedom of a blank canvas.
Selecting a journal is like picking the right canvas for your art or the perfect camera setting to capture the shot. As a creative, think about what fine details matter, like a paper that suits your medium, be it ink, pencil, or even light watercolor. Consider whether you prefer a journal that lays flat with dotted grids for precision or blank pages for free-form expression. This is the foundation of your creative journey.
If commercially available bullet journals don’t resonate with you, no worries. You can create your own. Consider designing your personalized bullet journal and using print-on-demand services to bring it to life.
Psst. With Blurb, you can customize a journal with your own prompts, illustrations, charts, and quotes. Then print as many copies as you need with various sizes and cover options. Learn how to make a journal using BookWright.
2. Decide on its purpose
What do you want to achieve with your bullet journal? Is it for tracking daily tasks, fostering creativity, or increasing productivity? Defining the purpose of your journal will help guide its structure and content.
If it’s for productivity, you might include more planning and task-oriented spreads. If it’s for mindfulness and reflection, pages for gratitude logging, mood tracking, or journaling might be more prevalent. For creative expression, leave space for sketches, doodles, and brainstorming.
Your bullet journal can be more than just an organizer. It can be a storyboard for your projects, a sketchbook for your ideas, or a diary of your artistic journey. Define its role in your creative process—whether it’s to track progress, brainstorm ideas, or collect inspiration.
Your journal’s purpose may evolve, but a clear starting point will keep it organized and focused.

3. Gather your supplies
Once you determine the purpose of your bullet journal and know what you want to do with it, it’s time to gather your tools. Arm yourself with various pens, markers, and rulers for precise lines and colorful accents. You can also use embellishments like stickers and washi tape to add a fun and personalized touch.
Making a bullet journal with hardcopy materials is one way to do it, but it’s not the only way. Using digital tools is an effective alternative, especially if illustrating is not your jam or crafting tends to leave behind a messy trail.
Instead, use programs like Adobe Illustrator, Canva, and BookWright to create your spreads before printing them into a book. This method allows for endless creativity and precision and aligns your bullet journal with your vision while maintaining professional-grade quality.
In the digital assembly of your bullet journal, consider the visual elements that will shine once printed. Utilize different textures, fonts, and graphics that reflect your creative style. When chosen thoughtfully, these elements will transform your printed bullet journal into a tactile masterpiece that captures your artistic essence.
4. Set up your key
The “key” is the backbone of your bullet journal, providing a quick reference to understand your entries at a glance. Ryder Carroll used these designations in his original bullet journal, but you can adopt your own versions to suit your journal’s style and needs.
• (task)
X (task completed)
> (task migrated)
< (task scheduled)
⚬ (event)
– (note)
* (priority)
! (inspiration)
Beyond the basics, consider adding symbols that align with your personal or professional needs—perhaps different icons for various types of meetings or creative sessions. Consider what types of entries you’ll make most frequently and how a key can make the journaling process smoother.
Your key is more than just a list of symbols. It’s a shorthand for your creative process. Design symbols representing different stages of your projects, mood indicators for creative brainstorming sessions, or icons for different types of inspiration. This personalizes your journal and streamlines your workflow.
5. Create your index
Think of your index as a dynamic table of contents. At the very beginning, save the first four to six pages of your bullet journal for the index. Here, you’ll write the page numbers of your entries as you track them so you can find them again quickly.
With space allocated to your index, number the remaining journal pages. As you add content, you can promptly log it in the index with the corresponding page number. This might seem tedious initially, but it will pay off in the long run by making navigation quick and effortless.
When creating your bullet journal, adding page numbers and utilizing templates for a Table of Contents (TOC) can enhance its functionality. Many bookmaking software options offer these features for ease of organization. For example, with Blurb’s BookWright tool, you can easily number your pages and use templates to design a user-friendly TOC, making navigation through your journal more intuitive and efficient.
Envision the index like a map of your creative workflow. As you outline the structure of your journal, think about categorizing pages by project, inspiration, or type of artwork. This way, your index becomes a quick reference guide to your evolving portfolio of ideas and creations.

6. Set up your future log
Your future log is your planning powerhouse. Divide it by month, and under each section, list significant dates, deadlines, and events. Don’t forget to leave some space for goal setting or jotting down ideas and future projects you’d like to tackle. This log keeps you organized, helps balance your workload, and ensures that creative projects get the time they deserve.
Your future log can be a visual timeline for project deadlines, exhibitions, or personal milestones. Use color coding or different layouts to represent various aspects of your life and work. This section can be a bird’s-eye view of your creative journey through the year or for a specific project.
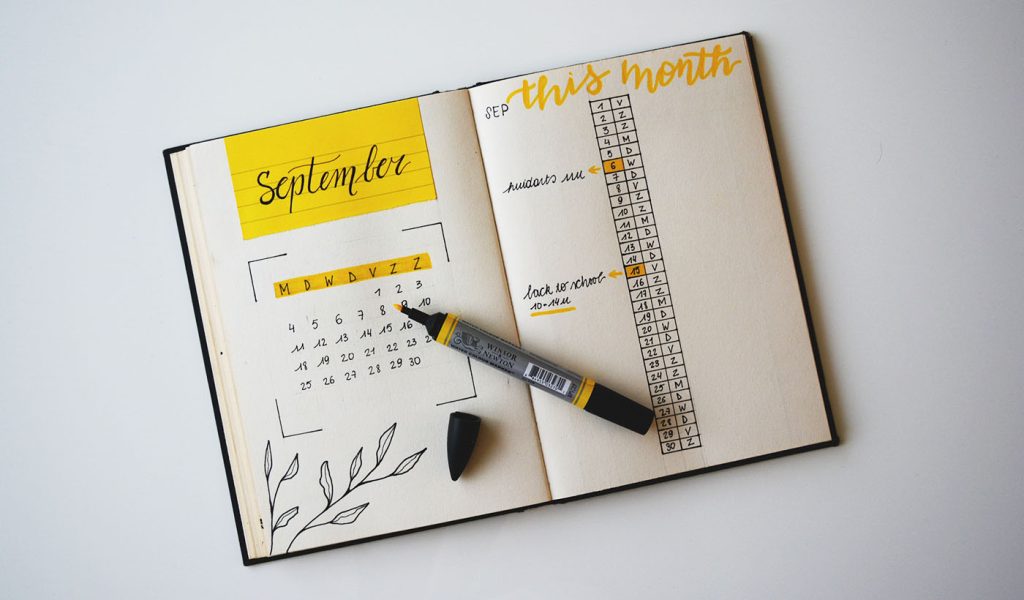
7. Design your monthly spread
When setting up your monthly spread, start with a calendar to have a clear overview of the month. Next to it, include a to-do list for your most important tasks. Add a habit tracker to monitor daily practices or a mood tracker if mindfulness is a focus.
This space is great for a creativity corner, perhaps a small section for daily doodles or lines of poetry. The aim is to have everything you need for the month in one spread, so customize it to fit your unique rhythm and routine.
Your artistic skills will shine here. Design a monthly spread that reflects your style—minimalist, abstract, detailed illustrations, or a collage of ideas. Think of this spread as a canvas for monthly inspirations and themes, not just a planner.
8. Plan your weekly or daily spreads
Choosing a weekly or daily layout depends on your task volume and detail preferences. Weekly spreads provide a broader view that lets you plan days in advance, while daily spreads allow for extensive detail for tasks and notes.
Whichever you choose, ensure space for spontaneity—leave blank areas for sketches, random thoughts, or inspirational quotes. Remember, you can craft your bullet journal to be as much about creativity as it is about organization.
These spreads can be a playground for experimentation. Mix up layouts, try different artistic techniques, or use these pages to sketch small daily drawings. Each week or day can uniquely represent your current mood or project.
9. Add collections
Collections are where your bullet journal becomes an inventory of your personal and professional life. These include lists, trackers, planning pages, or brainstorming spaces dedicated to specific projects or themes.
As a creative, you might have collections for project ideas, color palettes, favorite quotes, or books to read. Think about what will fuel your creativity and support your goals, then dedicate pages in your journal to these themes. Over time, these collections become a rich archive of your journey, ideas, and projects.
10. Make it your own
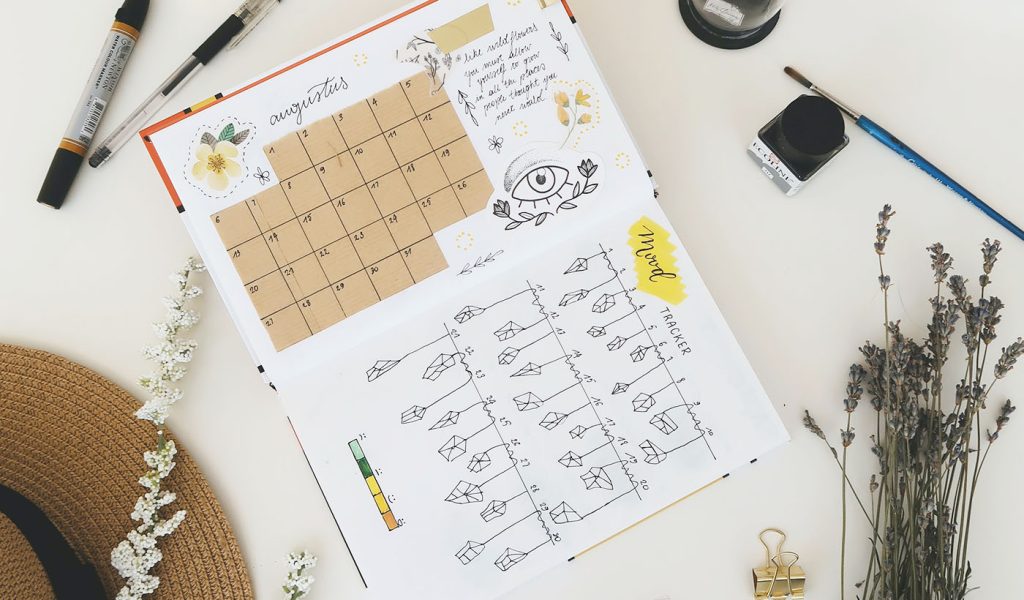
A bullet journal is your creative playground, where organizational and artistic boundaries are blurred. Add a personal touch with doodles, stickers, washi tape, or other embellishments that spark joy and inspiration. Consider using thematic colors for different sections or incorporating your own sketches and artwork.
Keep in mind that this journal is an extension of you. Make it a space that reflects your personality and creative spirit and, most importantly, a space you look forward to engaging with every day.
This is where you infuse your personality into every page. Whether it’s through thematic illustrations, personalized color schemes, or creative headers and footers, let each page reflect your unique artistic voice.
11. Review and reflect
At the end of each month, take a moment to step back and assess your bullet journal journey. Reflect on the layouts and systems that have been most effective and those that might need tweaking. Ask yourself what accomplishments you’re most proud of and what lessons you’ve learned.
Use this reflection as a tool for continuous improvement, adapting your bullet journal to better suit your evolving needs and goals. This practice not only ensures that your bullet journal remains an effective tool but also fosters a habit of mindfulness and self-awareness.
Reflection is vital in the creative process. Use your bullet journal to reflect on your progress, appreciate your achievements, and learn from challenges. This section can include visual reflections, sketches of progress, or notes on evolving styles and techniques.
12. Making and selling your bullet journal
Creating and selling your concept is always possible if you’re looking to take your project to the next level. Utilizing a self-publishing platform makes it easy to print your bullet journal into a physical product and distribute it through various channels. Indie print-on-demand platforms allow you to print multiple copies of your journal while creating a potential revenue stream.
When making a journal to sell, ensure the design is universal and can cater to a wide audience. Include explanations or guides on using the journal effectively, and consider branding your book to uniquely position it against comparable products on the market. Selling your bullet journal can be a rewarding way to share your creative process with others while tapping into a potentially fruitful revenue stream.
For the creative entrepreneur, your bullet journal can be a prototype for a product line. Document your design process, brainstorm marketing ideas, or track customer feedback. This section becomes a roadmap for turning your creative passion into a viable product.
Bullet journal ideas worth exploring
There is no shortage of practical ideas for bullet journals. To help get your creative juices flowing, explore some of these possibilities.
- Daily log: Create a list of tasks you need to get done, scheduled events, and notes you want to record.
- Creative goals tracker: Set your artistic or creative goals and monitor progress toward achieving them.
- Publishing timeline: Outline and track critical dates and milestones for your publishing projects.
- Photoshoot planner: Organize and plan the details of upcoming shoots.
- Creative inspiration log: Document sources of inspiration, ideas, and creative sparks.
- Gallery submissions tracker: Keep a log of your artwork submissions to galleries, including dates and responses.
- Color palette page: Design pages dedicated to color palettes for various projects or inspirations.
- Client details: Keep track of client information, project details, and communications.
- Character profiles: Develop and track detailed profiles for characters in your writing or other creative projects.
- Exposure settings log: Record exposure settings for different photography sessions for future reference.
- Monthly memories: Create a page to record memories from the month, such as photos, quotes, or highlights.
- Brain dump: Write down all your thoughts and ideas to clear your mind.
- Gratitude journal: As a powerful tool for mindfulness training, take a moment to jot down things you are grateful for each day.
- Habit journal: Keep track of habits you want to establish or break.
- Mood tracker: Record your mood daily to help you identify patterns and triggers.
- Reading log: Keep track of books you have read or want to read.
- Travel record: Record your travel experiences, including places you’ve been, or create a list of places you wish to see.
- Spring cleaning list: Create a list of cleaning tasks and decluttering projects to tackle.
These ideas only scratch the surface of possibilities when starting your bullet journal. Let your creativity lead the way as you dive into the world of bullet journaling. Explore more custom journal ideas to find inspiration, and when you’re ready, bring your unique vision to fruition. Remember, your bullet journal is not just an organizer; it’s a conduit for your creativity and a chronicle of your artistic journey.
***
Blurb offers a seamless solution if you’re looking to transform your bullet journal ideas into a tangible concept. We specialize in bookstore-quality, print-on-demand books, ideal for artists and creatives like you to materialize your ideas. With custom journal options, professional-grade printing, and user-friendly tools, Blurb empowers you to create bullet journals that are functional, visually stunning, and deeply personal. Start your project today.

