Capture, Collect, and Create: 5 Creative Ways to Spice up your Travel Books
I recently found myself wanting to document a quick trip I went on last 4th of July break, and couldn’t decide how to best get all my memories down. There were a ton of photos on my phone and an entire plastic bag of mixed up ticket stubs, postcards, and flyers (I went to three totally different cities, so it was hard to unite them all under one theme). I wanted to create a travel photo book, but I had all this ephemera that I collected (a typical graphic designer move—everything is inspiration!). I decided to mix the two—what if my photo book included the bits and pieces I had collected along the way?
As I was creating this book with Blurb, I intentionally left some pages blank to make space for ticket stubs and handwritten captions. The hand-lettered titles for each city I visited were created on the iPad, and transferred into Adobe InDesign as I was creating the book with the Blurb plugin.
Here’s a peek at my travel book, and 5 ways you can include more stuff in your next photo book:
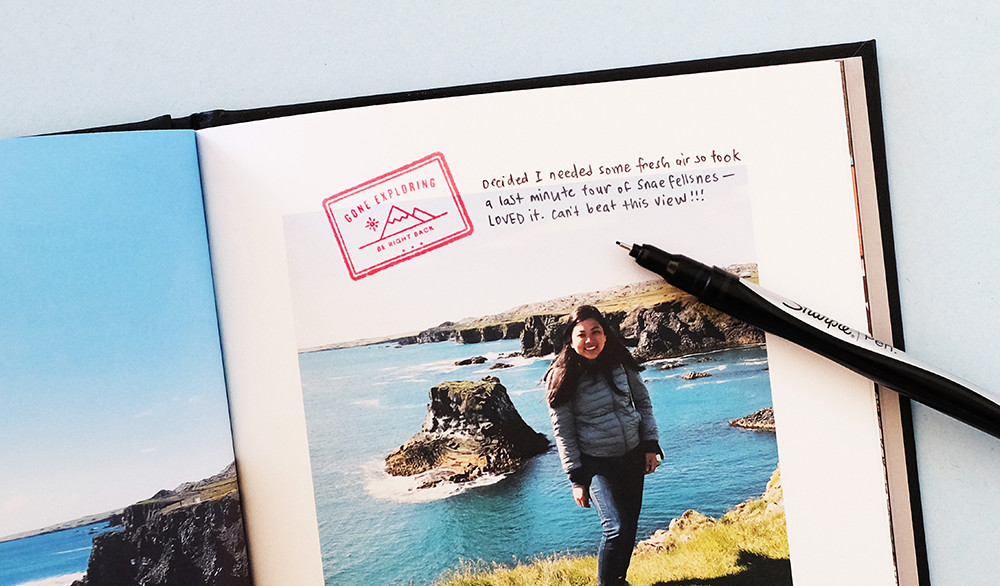
1. Add a personal touch with handwritten journaling.
I love the cleanliness of a beautifully made photo book, but I sometimes feel that the person creating it isn’t always felt through the pages. I love all things analog, especially handwriting, and adding this into my book was one of the first things I knew I wanted to do. Writing out captions or little snippets of what I remember from my trip was a meaningful way to capture my story in a personal way. Don’t be afraid to write on your photos, add candid captions, and use your handwriting, no matter how messy you feel it looks—this is your story, make sure you’re in it!
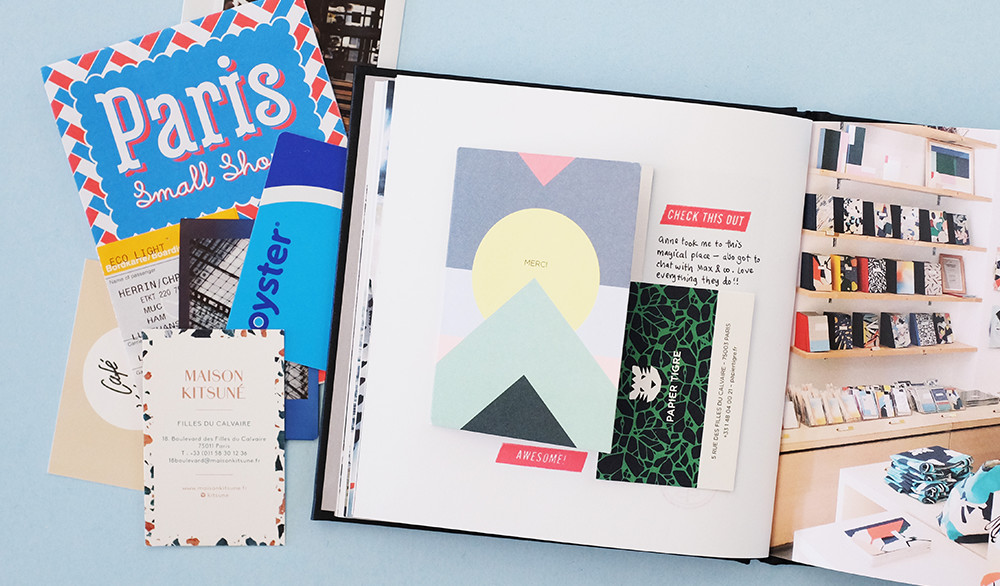
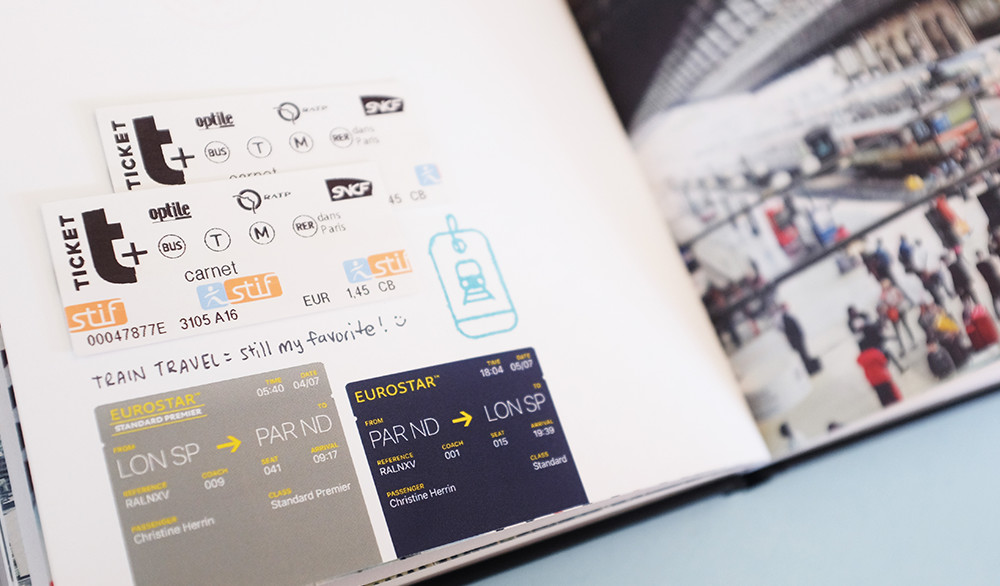
2. Include the bits and pieces you collect from your trip.
I’m a graphic designer and self-confessed paper lover (and hoarder), so there’s no doubt that my idea of collecting keepsakes from a trip is saving every little ticket, postcard, flyer, and restaurant/store business card I come across—especially if it’s a cool example of local graphic design from the city I’m visiting. I collect these and never know what to do with them (or I make a promise to myself to scrapbook them someday), so adding them into my photo book made perfect sense. My book includes train tickets, flight boarding passes, business cards from fun stores I stopped at, and even a large flyer I trimmed down to fit in my pages. I love that these make my book more visually interesting and fun to flip through.
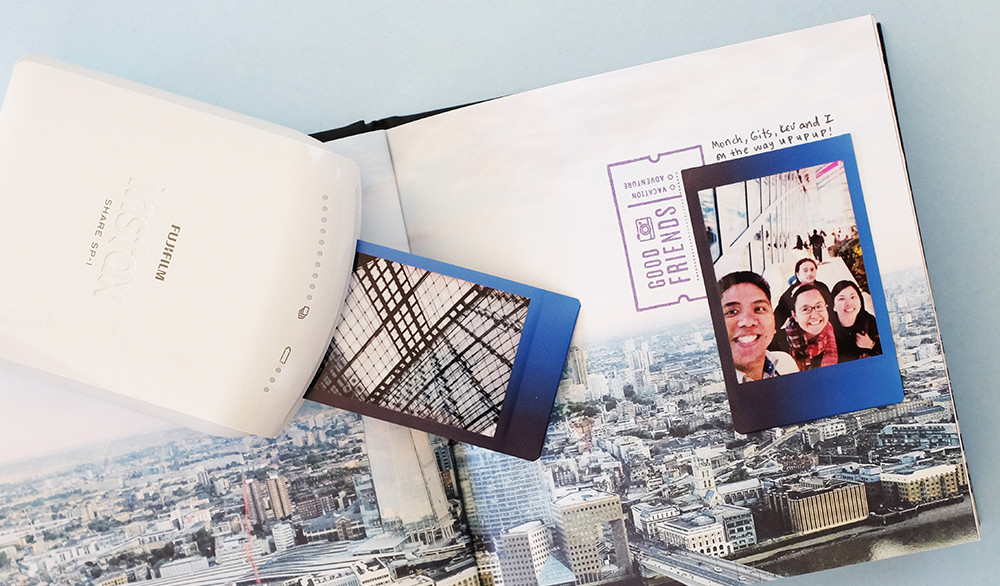
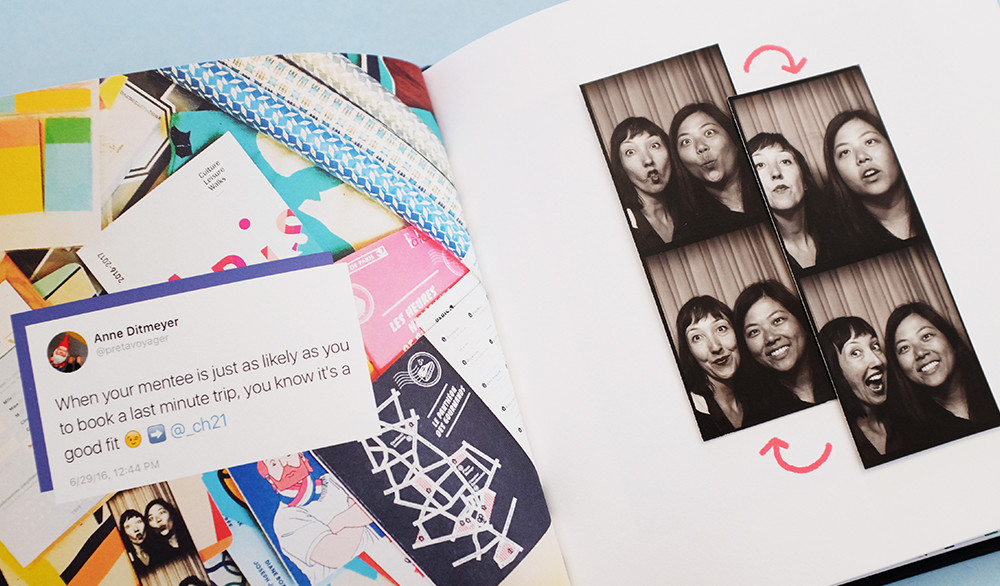
3. Fit in even more photos after printing.
As a definite lover of all things analog, I knew I wanted to add to the story of my trip by including some instant photos within the pages. They’re imperfect, in-the-moment, and add an extra layer to your story. Old school Polaroid cameras or the more modern Fujifilm Instax cameras (now in several sizes of film!) are fun to use on your trips to get unexpected moments. If you like the look of instant but would rather have more control, Fujifilm has an Instax Printer that turns photos from your phone into mini Instax shots. I used this on some of my pages and love the extra layer it adds!
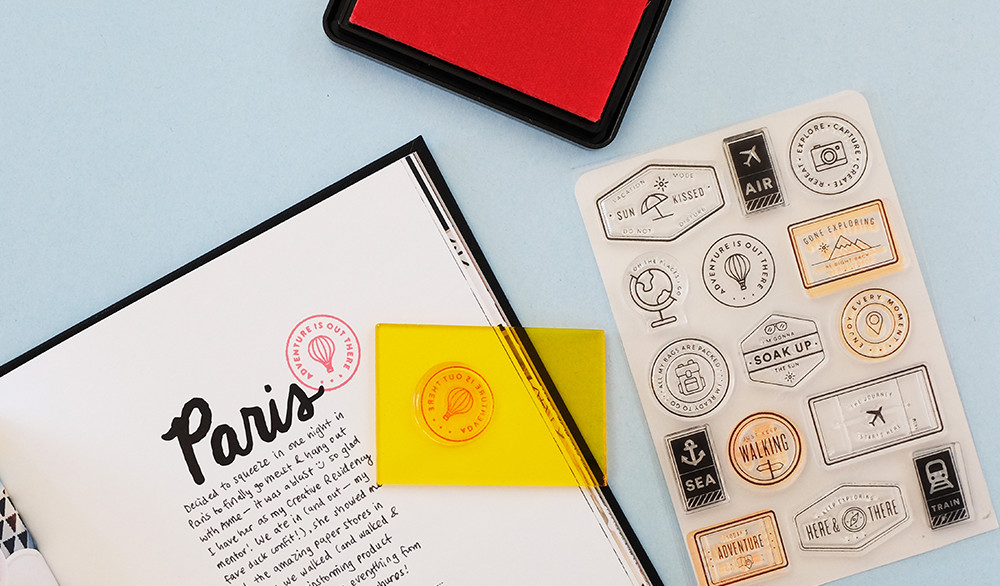
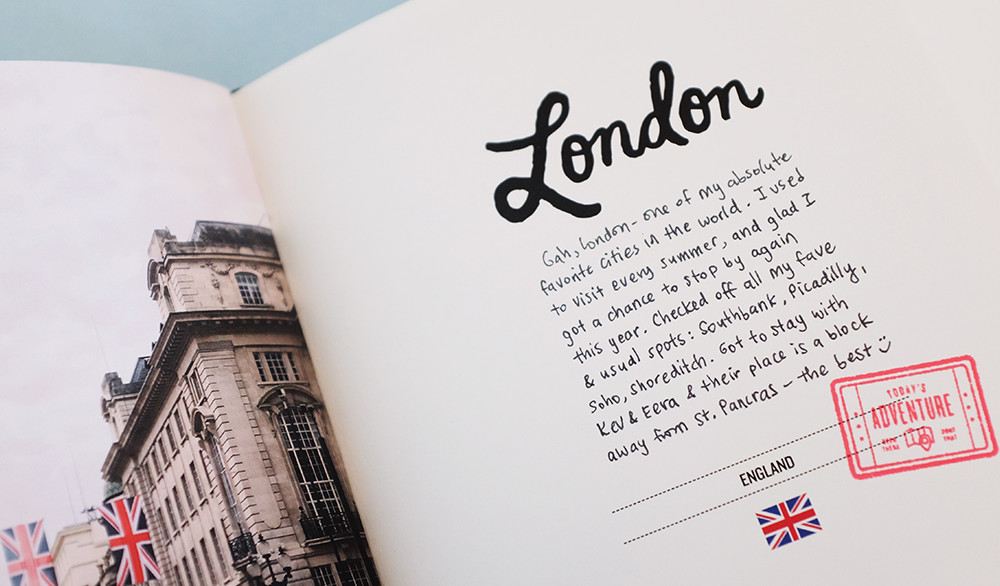
4. Add little graphic accents to your pages with clear stamps.
Stamps are a staple for scrapbook makers and crafty planners, and I love using them as a finishing touch! I run a paper line called Everyday Explorers Co. and clear stamps are a customer favorite, simply because they’re easy to use and are fun little graphics to add on to projects. I love to travel, so most of the stamps are travel themed and perfect additions to travel books. The clear polymer stamps stick onto clear blocks, so you can finally see where you’re stamping (perfect for a nitpicky designer like me). This came in handy as I figured out how to balance my journaling and graphic elements.
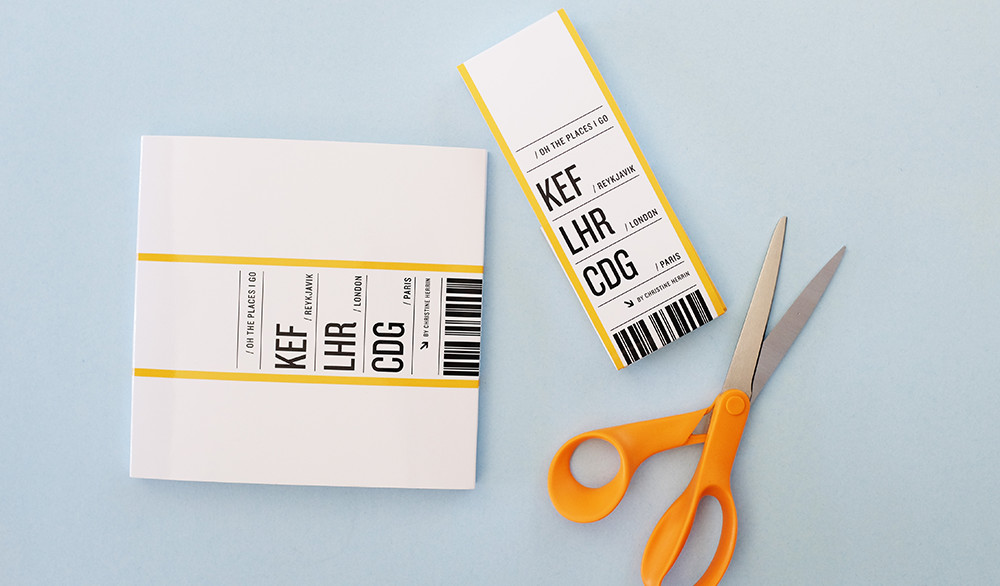
5. Get creative with your travel book’s dust jacket!
In the spirit of adding even more dimension to this project, I decided to do something fun with the dust jacket that comes with my Blurb book. Inspired by airline luggage tags that mark where the bags are from and where they eventually have to go, I designed my dust jacket to just have a tag with my book title and city stops clearly marked on it. When my book arrived, I trimmed down the jacket to create a fun luggage tag bellyband!
Summer is just around the corner, and amazing adventures await. As you go on and capture beautiful photos, don’t forget to save the little physical bits and pieces from the places you see—they’re all part of the bigger story, and they make cool additions to your travel books!
About Christine Herrin
Current status: Making awesome things, and building my brand. I was also honored to be picked as a 2016 Adobe Creative Resident — an entire year of working on dream projects and meeting design heroes. But before that, I was freelancin’ for awesome clients, handlettering things, and running my online shop of stamps, journals, and more.


This post doesn't have any comment. Be the first one!