An Interview with Illustrator Sylvie Lee
When artist and designer Sylvie Lee began sketching the state flowers of America, it was simply a personal creative challenge to practice her drawing skills. Just a few months later, Sylvie’s botanical sketches have been transformed into a beautiful coloring book and set up for sale. We caught up with her to find out more about the journey from doodle to self-published coloring book.
1. Where did the idea or inspiration for State Flowers of America come from?
I have collected many blank notebooks over the years and was looking for ways to fill one up while practicing my drawing skills. Botanical sketches seemed a great place to start since there are so many different shapes and styles to capture and they are a pretty forgiving subject. I was out-of-state on a trip to Oregon when I started drawing, and I came up with the idea to draw all the US state flowers, which seemed like an ambitious, but fun undertaking. I had no plans for the drawings, but when friends saw them, they encouraged me to make them into a coloring book, so that is exactly what I did.
2. How did you decide on the format and size of your coloring book? What factors did you consider?
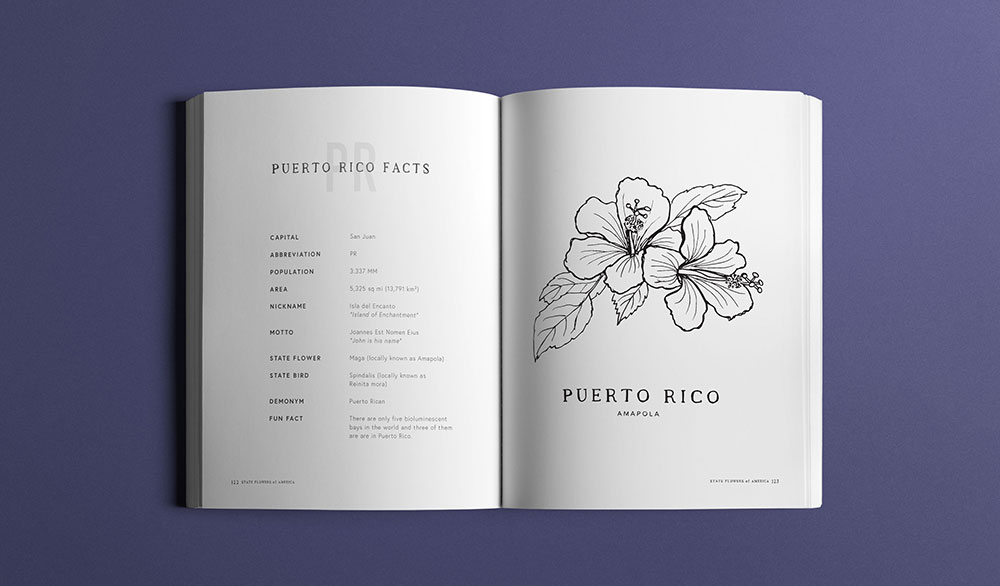
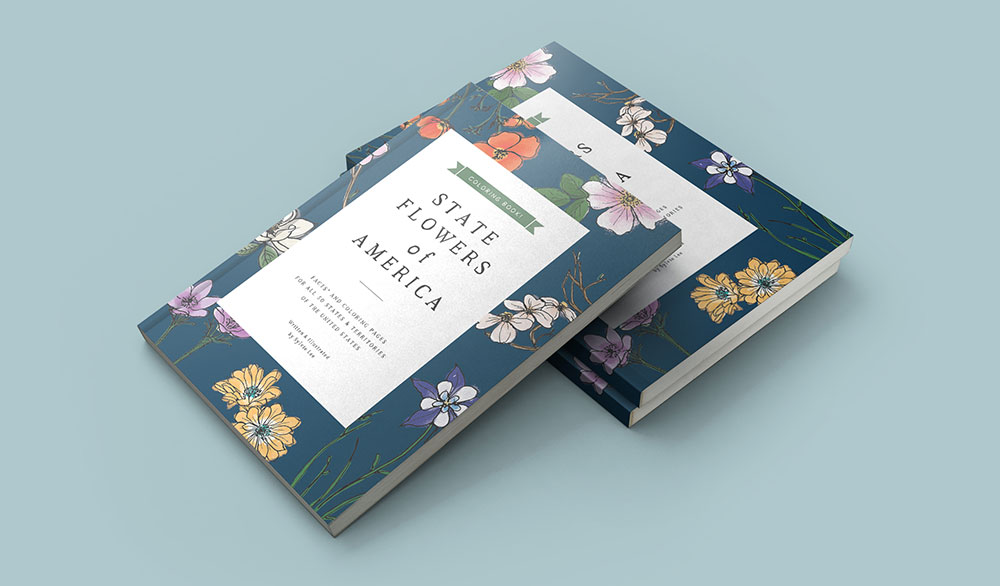
I wanted the coloring book to be large enough to be a proper coloring book, but affordable as well. I test-printed several different papers and printing methods. The softcover 8×10″ Trade Book with Black and White printing ended up being the best fit. I didn’t need to splurge on color printing because it’s a coloring book! The color will be added later.
In terms of size, if the book were any smaller, it would probably be hard to keep it open and flat while coloring. The illustrations would have to be much smaller too. The softcover cover option helps keep the price down as well, and it is consistent with traditional coloring books.
3. Did the fact that this coloring book is meant to be used and added to by readers affect any of your design decisions? If so, how?
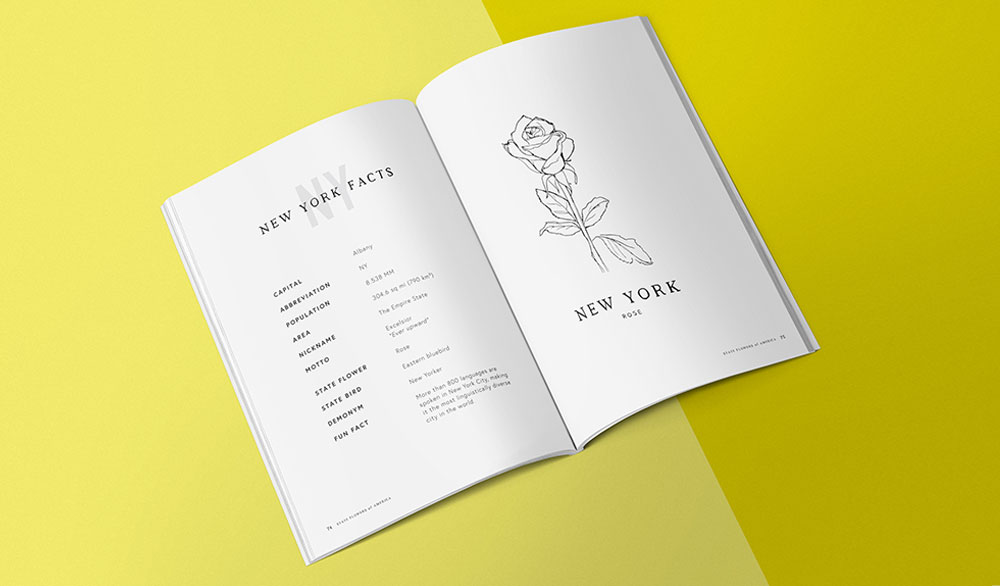
I have always felt it was easier and more enjoyable to write or draw on the right-hand page of a double-page spread, so I kept all the coloring areas on this side. Another benefit of this layout is that it leaves room for fun facts on the left-hand page and you won’t bleed onto another coloring page if you happen to be using a heavy marker or another wet medium.
4. Which tool or tools did you use to create your coloring book? Why did you choose those tools in particular?
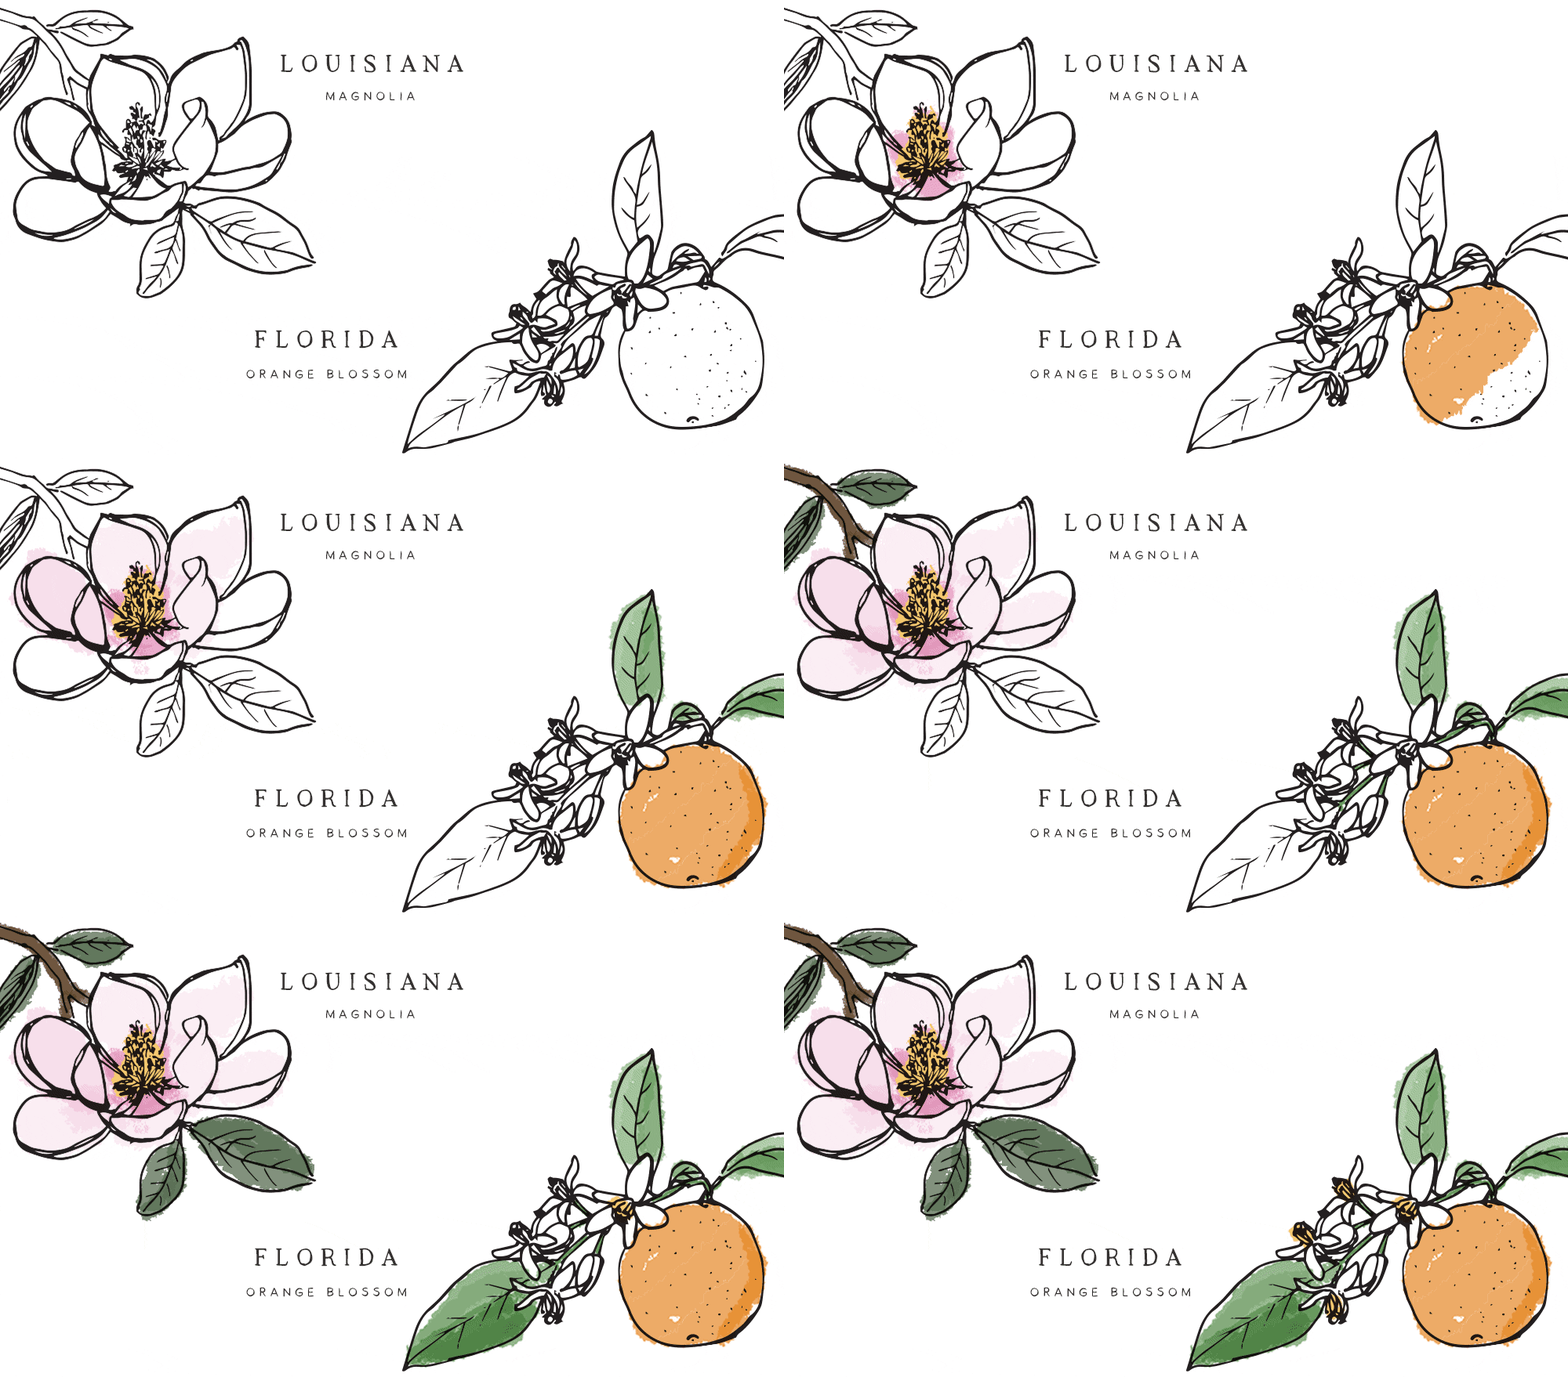
I used Adobe InDesign and Blurb’s Plug-In for Adobe InDesign. I chose InDesign because I wanted this book to be very professional, organized, and consistent. InDesign’s Master Pages feature is very powerful and allows users to add professional details, such as page numbers and text styling across many different pages with just a few clicks. I also love Blurb’s Plug-in because you never have to wonder if your final production files are built properly. The Blurb Plug-In for Adobe InDesign has a built-in pre-flight check, which will flag potential production issues, such as low-resolution images or truncated text, etc. Additionally, you can upload your book to your Blurb dashboard directly from the InDesign interface.
5. How did you decide on the price of your coloring book?
My first instinct is always to make the book as affordable and accessible as possible. My second instinct is to make sure my work is being valued properly. To find a balance between those two priorities, I research the prices of similar products in the market and poll friends and family. I will ask things as simple as, “What would you pay for this?” or “How much do you think this would cost?” etc. I will usually get a range of responses and then pick something that I am comfortable with. Because I am going with the print-on-demand distribution option, there is a lot of flexibility for trial and error, and I can adjust my pricing at any point. I am still trying to figure out if there is a more formulaic way to do this and I’m open to advice.
6. What steps are you taking to promote and sell your coloring book?
I don’t have any budget set aside for marketing, so I will mostly be promoting it through social media and email channels.
7. Did you come across any challenges while making your coloring book? If so, how did you overcome them?
I have never made a book with this much content before, and it did feel overwhelming at times. I almost gave up on collecting all the facts for each state. The information is not particularly hard to find, but the sheer volume of data made the task feel very daunting. Luckily, I have extremely supportive co-workers and friends who helped me, in exchange for a copy of the book. I made a big spreadsheet with all the states and categories listed and asked people to help me fill it in if they had a few minutes to spare. Delegating that work helped me focus on completing the drawings. It also made me feel super supported and appreciative of my generous network.
8. If you were starting this project again, would you do anything differently? If so, why?
To be honest, I don’t think I would do much differently if I were to start this project again. It was a bit rushed at the end, but I am happy that things came together organically and naturally. Had I started working with a very rigid master plan at the outset, I probably would have psyched myself out of the project or gotten bored of it before completion. Once I got started putting the book together, things started moving pretty quickly and smoothly, but I am glad I had this project in the back of my mind for a while before finally acting on it. In the end, it helped me work smarter instead of harder.
9. Can you describe your creative process? For example, do you prefer working on one project at a time or switching between different pieces of work? Do you spend a lot of time in the planning stages or do you prefer jumping straight in?
When working on personal projects, I definitely like to switch around between different pieces. I am a graphic designer by day and am very strict with timelines and planning when it comes to my professional work, so it is a nice change of pace to be able to jump around to whatever is inspiring me for these personal creative projects. I try not to plan too much with my personal work because I feel like sometimes that can prevent you from pushing your work to new and unexpected places.
10. What would you say are the key elements of good book design?
An eye-catching cover will always be the first thing that draws people in, but I think it is equally important for the interior of the book to look polished. I am a stickler for consistency, and I believe that the best way to make your book look professional is to have the design be very organized and uniform. They are easy to overlook and take for granted, but subtle details like even margins, consistent line spacing, and uniform font styling are extremely important to good book design. Ironically, you might not even notice the design of a very well-designed book. On the other hand, sloppy book design can really distract from your content. If you really want your content to shine, spend the time making sure your design is clean and consistent.
You can buy a copy of Sylvie’s stunning coloring book in the Blurb Bookstore. And, if you’ve been mulling over a book project, why not get started today?


This post doesn't have any comment. Be the first one!